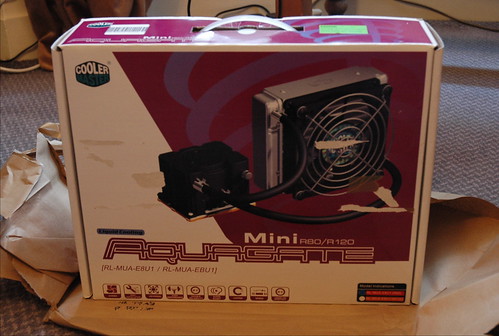
Shiny New Toys
The first new part to arrive was a Sonnet Tango Serial ATA PCI card; a rebadged SeriTek/1S2 in fetching purple, which (crucially) is bootable. I'd originally decided against getting serial ATA as the performance gains over the ATA/100 bus already in the G4 are minimal, but I saw a very good deal on eBay and took it. This meant that some long SATA cables and a couple of SATA drives would be needed for the RAID 0 setup.As far as drives go, I opted for two ST3160812AS 160GB 7200.9 Seagate Barracudas, with support for up to 300mbps SATA. The Sonnet Tango only runs up to 150mbps, but I chose these for a number of reasons; mainly reliability, performance and noise. The 160GB 7200.9s contain only a single platter in each, currently (23/01/06) making them the highest density platters around. As such they should exhibit lower noise levels, lower running power consumption and lower heat output. They do seem fairly cool running, and I certainly don't have any complaints about the noise - it's all very peaceful, and HDD seek noise irritates me much more than fan noise. Depending on the fan, obviously. The only thing to watch out for is the rather large rating on the startup current - a large 2.5A.
Next to return was my processor module, the box being a bit of a giveaway as to what might have happened to it.
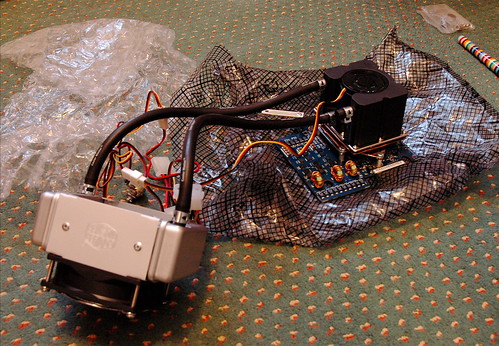
Obviously, the Aquagate Mini was never designed with an Apple processor module in mind, and if you've already been to the AquaMac site you'll know that a number of parts have had to be custom-made to connect the two together. The watercooling system consists of a large custom copper shim which sits over the two processors (not visible). This is held in place by a custom-made stainless steel plate with a shiny mirror finish, which you can just see supported on small aluminium spacing struts. This is screwed into the mounting points on the copper base of the pump / reservoir combo block and bolted onto the board. To hold the whole thing in place are some more aluminium spacers, two of which are pop-riveted onto the back of the card with metal arms to reach the original mounting positions.
Very sensibly, seeing as motherboards can never be guaranteed to match up, Steve had put some electrician's tape onto the bolts on the underside of the card. The last thing you want is any possible short-outs on your system when you hit the power button, however, after years of audio engineering I've developed a pathological fear of using PVC tape for more than about five minutes. Something about the way it goes sticky just haunts me, so on a grey Sunday afternoon I decided to make a processor insulating sheet. The tricky bit was finding a material to make it out of.
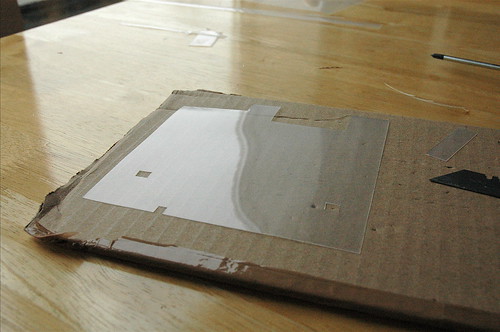
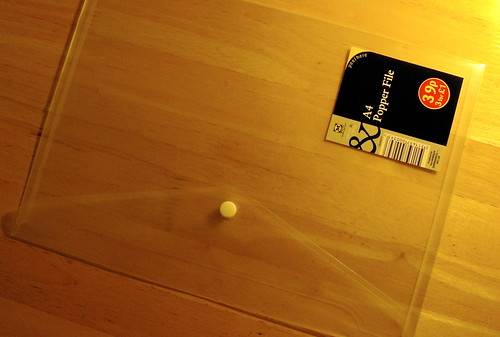
I'd originally planned to use an overhead transparency, but it failed miserably. I needed something with decent anti-static properties that could withstand temperatures of at least 80degC (to be on the safe side) and be reasonably flexible. The OHP transparency was great on the flexibility front, although it was a little bit thinner than I would have liked. The killer was the way it shriveled to nothing when it got to even a vaguely high temperature; plus, it got so statically charged that just removing one from the packet meant that you could stick it to a wall. The solution was found on a trip to Morrisons. They sell 'A4 Popper Files' for 39p, or three-for-a-pound. Bargain.
The plastic of the 'popper file' is perfect. It's about twice the thickness of the OHP transparency and picked up very little static charge (or fluff) during handling. It can also withstand temperatures of over 90degC without flinching, as the boiling water from the kettle testified. It got a little soft, but didn't shrivel or bend and it stayed exactly the same size. Once I've got a diagram done I'll make a template for this, in case you need to make one for yourself. The one above isn't quite finished - I tidied up the edges to make it match the shape of the processor stiffener - but when done you just drop it over the mounting posts and drop the stiffener over the top.
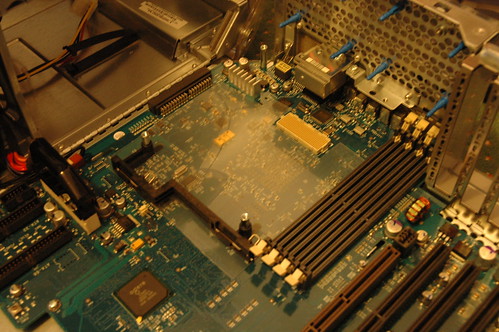
An extra 1GB of RAM from Crucial, four bargain copper head spreaders, a whole load of cable braid and multi-coloured heatshrink pretty much completes the lineup of new bits. I'm going to have to start selling some stuff on eBay to balance out the bank account now... those popper files really set me back...
Testing and Tweaks >>